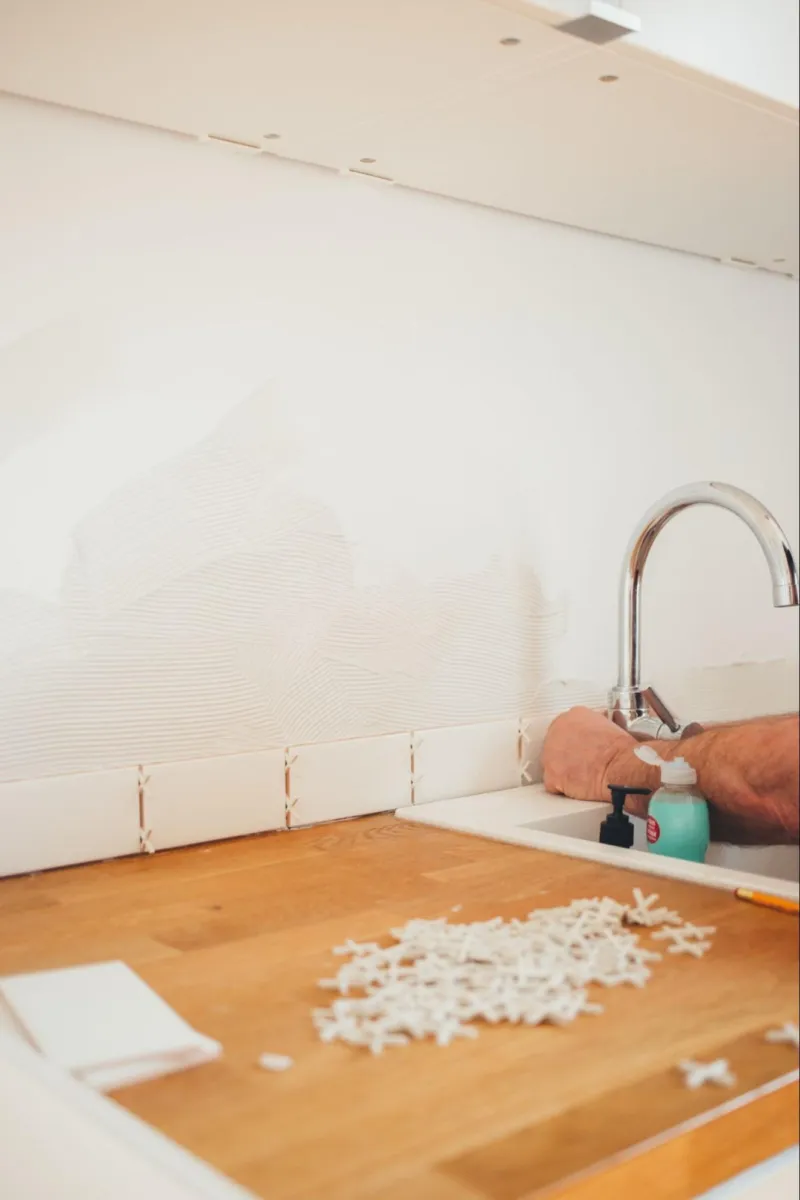
When it comes to home improvement, every small detail counts. One detail that's often overlooked is matching the color of caulk to grout. This simple touch can make your space look well-put-together. Knowing how to apply caulk that matches your grout color is a handy skill that can make your DIY projects look professionally done and this article will teach you how. You'll learn helpful techniques that are easy to follow and will save you time, to achieve perfect results every time.

Image Source - https://unsplash.com/photos/6rNTDKruMWU
The Basics of Caulk
Caulk is a useful material often used in construction and home repairs. Its primary role is to fill gaps or cracks in different structures, like between a bathtub and the wall or where window frames meet the house. It forms a barrier that stops water, air, or pests from getting in. Caulk comes in different colors, usually in a tube, and you apply it with a tool called a caulking gun. After you apply it, the caulk dries and hardens, to provide a strong, waterproof seal.
Choosing the Right Caulk

Image Source - https://pixabay.com/photos/paint-interior-paint-paint-bucket-4191397/
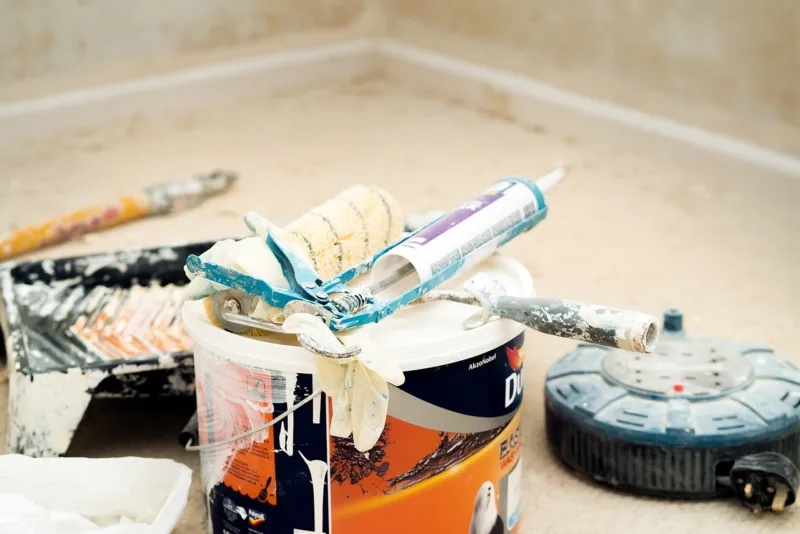
The first step is to find the appropriate caulk for your task. There are silicon, latex, and acrylic options, each with its own strengths and weaknesses. For indoor applications and for ease of color matching, latex or acrylic caulks are often the preferred choice due to their water clean-up properties and paintability.
How to Match Caulk to Grout Color
Matching caulk to a specific grout color might seem like a daunting task, but with patience and precision, it can be accomplished. Here are the steps you should follow:
Materials Required
Clear or white caulk (latex or acrylic)
Grout colorant or universal tinting colorant
Disposable container for mixing
Stir stick
Caulking gun
Colored grout sample for reference
Procedure
Step 1: Choose Your Base Caulk
Start with a clear or white caulk as your base. This ensures that the colorant you add will be accurately represented in the final product.
Step 2: Add Colorant
Add small amounts of the grout colorant or universal tinting colorant to your base caulk in the mixing container. Colorants come in a variety of hues, so choose one that matches your grout color.
Step 3: Mix Thoroughly
Using the stir stick, mix the caulk and colorant thoroughly until the color is evenly distributed. Be patient, it might take a few minutes.
Step 4: Match the Color
Hold your mixed caulk next to your colored grout sample to check the color match. Make sure to do this under the same lighting conditions where the caulk will be applied, as different lights can affect how the color appears. If the color isn't a match, adjust it by adding more colorant or more base caulk, then mix again.
Step 5: Test Your Caulk
Before applying your colored caulk, test it in an inconspicuous area and allow it to dry. Caulk can change color as it dries, so it's important to check it after it has dried.
Step 6: Apply Your Color-Matched Caulk
Once you're satisfied with the color match, transfer the caulk into an empty caulk tube or grout masonry bag, and apply it following the same steps for standard caulk application.
Remember, color matching is not an exact science and it may take a few attempts to get it right. However, the effort will pay off when you achieve a seamless color match between your grout and caulk.
Testing the Match
Before applying the caulk, always test the color match in an inconspicuous spot. Let it dry completely as caulk often changes color when dry.
Applying Your Color-Matched Caulk
With the ideal color ready, it's time to apply your caulk. Ensure you have a caulking gun, or other applicator, a cutting tool, and a smoothing tool at your disposal.
Preparing the Surface
Before you start applying, make sure the surface is clean, dry, and free of any old caulk or debris. This helps ensure maximum adhesion and prevents future problems like mildew growth.
Step-by-Step Application
Cut the caulk tube's tip at a 45-degree angle. The cut's size should correspond to the gap you want to fill.
Load the tube into your caulking gun.
Apply steady pressure to the gun's trigger, to guide the caulk into the gap.
With your smoothing tool or a damp finger, press down on the caulk, into the gap and smooth it out.
Clean Up and Maintenance
Once you have applied and smoothed the caulk, clean up any excess while it's still wet using a damp cloth. After the caulk has cured, maintaining it is simple. Regular cleaning with non-abrasive products will help keep your caulk looking like new for years to come.
Make the Most Out of Your DIY Projects with High-Quality Caulk from Fastener Systems Inc.
If you're looking to take your DIY projects to the next level, Fastener Systems Inc. is the perfect place for you. We provide high-quality caulk and a wide selection of fasteners, adhesives, and power tools. Our products are guaranteed to help you complete your projects quickly and efficiently with superior results. Plus, our experienced customer service staff is ready to provide seasoned advice when you need it.
Contact us today for a quote and request our catalog!

